Sign up to the Brew Mart newsletter for the latest news, offers & more
Beer Syphoning Equipment
Syphoning homebrew beer is essential to transferring your beer from one container to another, usually from the fermenter to bottles or a keg. Below is a simple guide to help you do it effectively:
Items needed
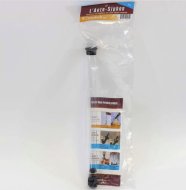
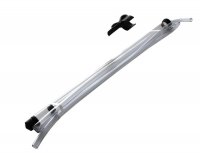
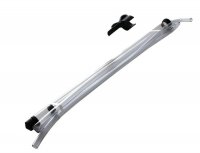
- A 4.5L or 23L Auto Syphon, depending on the size of your fermenter.
- Sanitiser/steriliser - VWP is a good one
- A clean container to transfer your beer into, either bottles, keg or second fermenter.
- A Little Bottler, an automatic bottling wand complete with tap, which makes life so much easier when bottling
Steps to Syphoning Homebrew Beer:
1. Sanitise Everything: Before you start, take the responsibility to ensure that all your equipment, including the syphon, tubing, and new containers, are sanitised. Sanitising /sterilising prevents unwanted bacteria from ruining your beer and keeps you in control of the brewing process.
2. Prepare Your Syphoning Area: If using the auto syphon, attach the tubing securely. The length of the tubing should be enough to reach from your fermenter to the new container.
3. Position Your Containers: Place your fermenter with the beer higher than the container you're syphoning into.
4. Start the Syphoning: If you're using the auto syphon, plunge it up and down a few times to create suction, then place the end of the tubing into the receiving container.
5. Watch Your Levels: Watch both containers as the beer starts to flow. Be careful not to syphon the sediment from the bottom of the fermenter — try to stop before you get to the yeast cake.
6. Stop Syphoning: When you get close to the sediment, lift the auto syphon out of the beer to stop the flow.
7. Seal Up Your New Container: Once you've transferred the beer, seal up your bottles or keg as soon as possible.
8. Clean Up: Remember to clean all your equipment after use to sanitise everything and prepare it for your next brew.
9. If bottling, ensure priming sugar or Cooper's Carbonation Drops are ready when carbonating your beer.

