Sign up to the Brew Mart newsletter for the latest news, offers & more
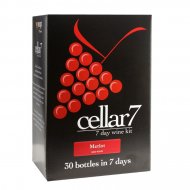
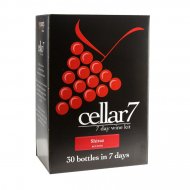
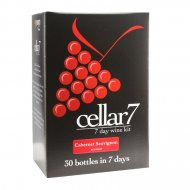
Cellar 7 wine kits
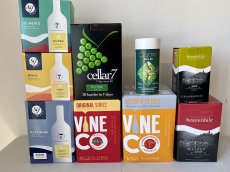
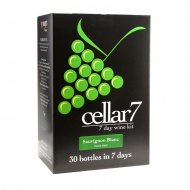
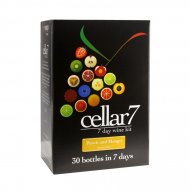
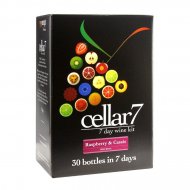
Buy Cellar 7 Wine Kits great all juice kits only water and brewing equipment needed.
Cellar 7 wine kits are produced from the finest European grape concentrates, and each kit creates around thirty bottles of great tasting wine at a very low cost.
-
- The Cellar 7 wine kits contain five litres of concentrated grape juice, meaning you do not have to add sugar to make 30 bottles of wine.
- Cellar 7 wine kits use the most beautiful European grape concentrates.
- They make 30 x 70ml bottles of 21 litres of wine, and each kit includes a fermentation stopper, wine stabiliser and wine finings.
- Cellar 7 wine kit requires no sugar as the taste comes directly from the juice.
- Allow 1 to 2 weeks to brew before bottling.
- As with all wines, Cellar 7 wine kits will improve with age.
- Years of expertise have created some of the most famous wine styles available.
- Cellar 7 wine kits always receive a great review.
Ingredients of Cellar 7 Wine Kits
Grape juice concentrates sugar, water, citric acid (E330) and preservative Potassium Sorbate (E202)
Sachet Ingredients
Finings 1 (silicic acid)
Stabiliser (preservatives (sodium metabisulphite (sulphites)
Potassium Sorbate.
Finings 2 (water, chitosan (crustacean) preservative (sodium metabisulphite (sulphites),
Yeast/Nutrient (yeast nutrient/ dried yeast, Sodium Bicarbonate, Silicon Antifoam enzyme. (Pectinase)
Cellar 7 Wine Kit Instructions
Before you begin, you must sterilise all equipment and read the Cellar 7 wine kit instructions.
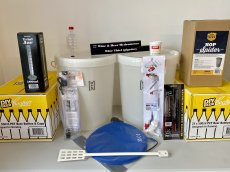
You will need the following equipment, all available from Brew Mart.
- 1 x 25 litre Wine Fermenter with lid and grommet: for fermentation
- 1 x 25 litre Wine Fermenter with solid top: for transferring/racking
- Airlock: to allow the release of gas produced during fermentation
- Long-handled spoon or paddle: to stir/remove gas from your brew.
- Hydrometer: to check the fermentation process at the beginning and when complete
- Syphon: to transfer your wine from the Fermenter for racking
- Steriliser: to sterilise all equipment before use
Additional Recommended Equipment:
- Hyrodmeter/Trial Jar - to help check specific gravity during winemaking
- Degasser - to remove the CO2 gases from your wine
Day 1
Record the date and the Specific Gravity reading of your must.
Save the reading and keep it for future reference.
1. Empty the grape juice concentrate into the fermenting vessel.
2. Top the vessel with lukewarm water (20-25C) to make twenty-one litres.
3. Sprinkle in Pack A (Wine Yeast/Nutrient) and mix well.
4. Fit the Airlock into the grommet in the lid.
5. The Airlock should be half-filled with water.
6. Place the Fermenter in a warm environment (20-25C).
Choose your place carefully where there is a minimal risk of damage if fermentation is vigorous.
A vigorous fermentation may cause frothing or leakage from the vessel. The fermentation should start within twenty-four hours.
Evidence of a started fermentation is C02 gas bubbles in the Airlock and a frothy layer on the liquid surface.
Day 5
Record the date and S.G. reading
7. Fermentation should now be complete. The evidence will no longer see bubbles passing through the Airlock.
Brew Mart recommends using a hydrometer and trial jar to check the Specific Gravity of your wine.
You can move on to the next stage by checking that the S.G. is 1.000 or below. If not, taste your wine. Leave the wine for a few days before proceeding if it is too sweet.
8. Syphon / Rack the wine into another sterilised fermenter, ensuring that all the sediment is not disturbed and is left behind.
9. Stir the wine, which is now in the new Fermenter, for 1 minute to eliminate the C02. Repeat this 2-3 times, leaving a few minutes in between. Stirring will help with the clearing of your wine.
10. Add Pack C (Stabiliser) and mix thoroughly.
11. After 3 hours, add Pack E (Finings 1), mix well and leave for 1 hour.
11. After 1 hour, add Pack F (Finings 2) and mix well. Leave the wine to clear.
It would be best to place the Fermenter on a surface at table height to transfer your wine for Bottling / Storage.
During the next 48 hours, your wine will clear. Before proceeding to the next stage, ensure your wine is transparent.
Day 7
12. Syphon the wine into bottles / suitable storage containers and seal. Don't disturb any further residual sediment in the bottom of the Fermenter. The wine is now ready to drink but will improve if left in a cool, dry place for a few weeks.
- Click here to choose wine additives.
- Don't forget to leave your review of the Cellar 7 winemaking kit to help new brewers.
Updated January 2024
